1. Install
Codetta ships native installers for Windows, macOS, and Linux. Pick from the Install section on the homepage, or hit a direct download:
- Windows:
Codetta_0.5.1_x64-setup.exe(NSIS, recommended) or.msi - macOS:
Codetta_0.5.1_universal.dmg(Apple Silicon + Intel, unsigned — first launch needs Privacy & Security → Open Anyway) - Linux:
.AppImage(universal),.deb, or.rpm
Or build from source:
git clone https://github.com/getcodetta/codetta.git
cd codetta
npm install
npm run tauri dev
Requires Node 18+ and the Rust toolchain. npm i -g codetta installs a CLI shim that prints a download pointer (the editor itself doesn't run from npm — it's a desktop app).
2. First launch
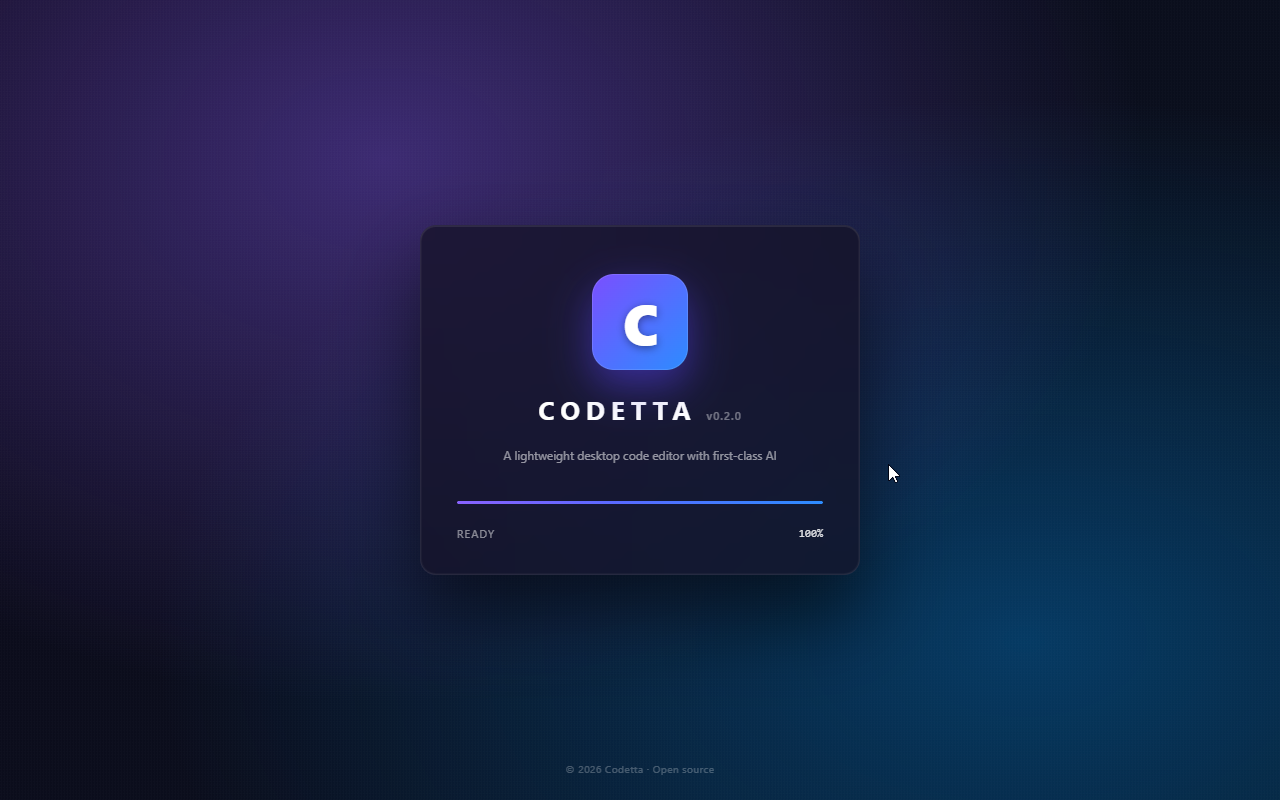 Startup splash — visible for ~700ms while the workspace state hydrates.
Open Codetta and you'll see an empty workspace picker. Click + Open folder in the activity bar (left edge) and pick any project folder. Codetta loads the file tree, opens an empty editor pane, and spawns a default terminal in the bottom dock.
Your workspace state — open tabs, splits, terminals, AI chats — saves to %AppData%/codetta/workspaces/{id}/state.json on Windows (~/Library/Application Support/codetta/... on macOS, ~/.config/codetta/... on Linux). Restart-safe; close the laptop and reopen tomorrow, your panes are exactly where you left them.
3. Agent Mode
Agent Mode turns the whole window into an agent-centric workspace — ideal when you're driving Claude Code (or any provider) to make changes rather than editing by hand. Toggle it from the Agent button in the title bar, or with Ctrl+Shift+A.
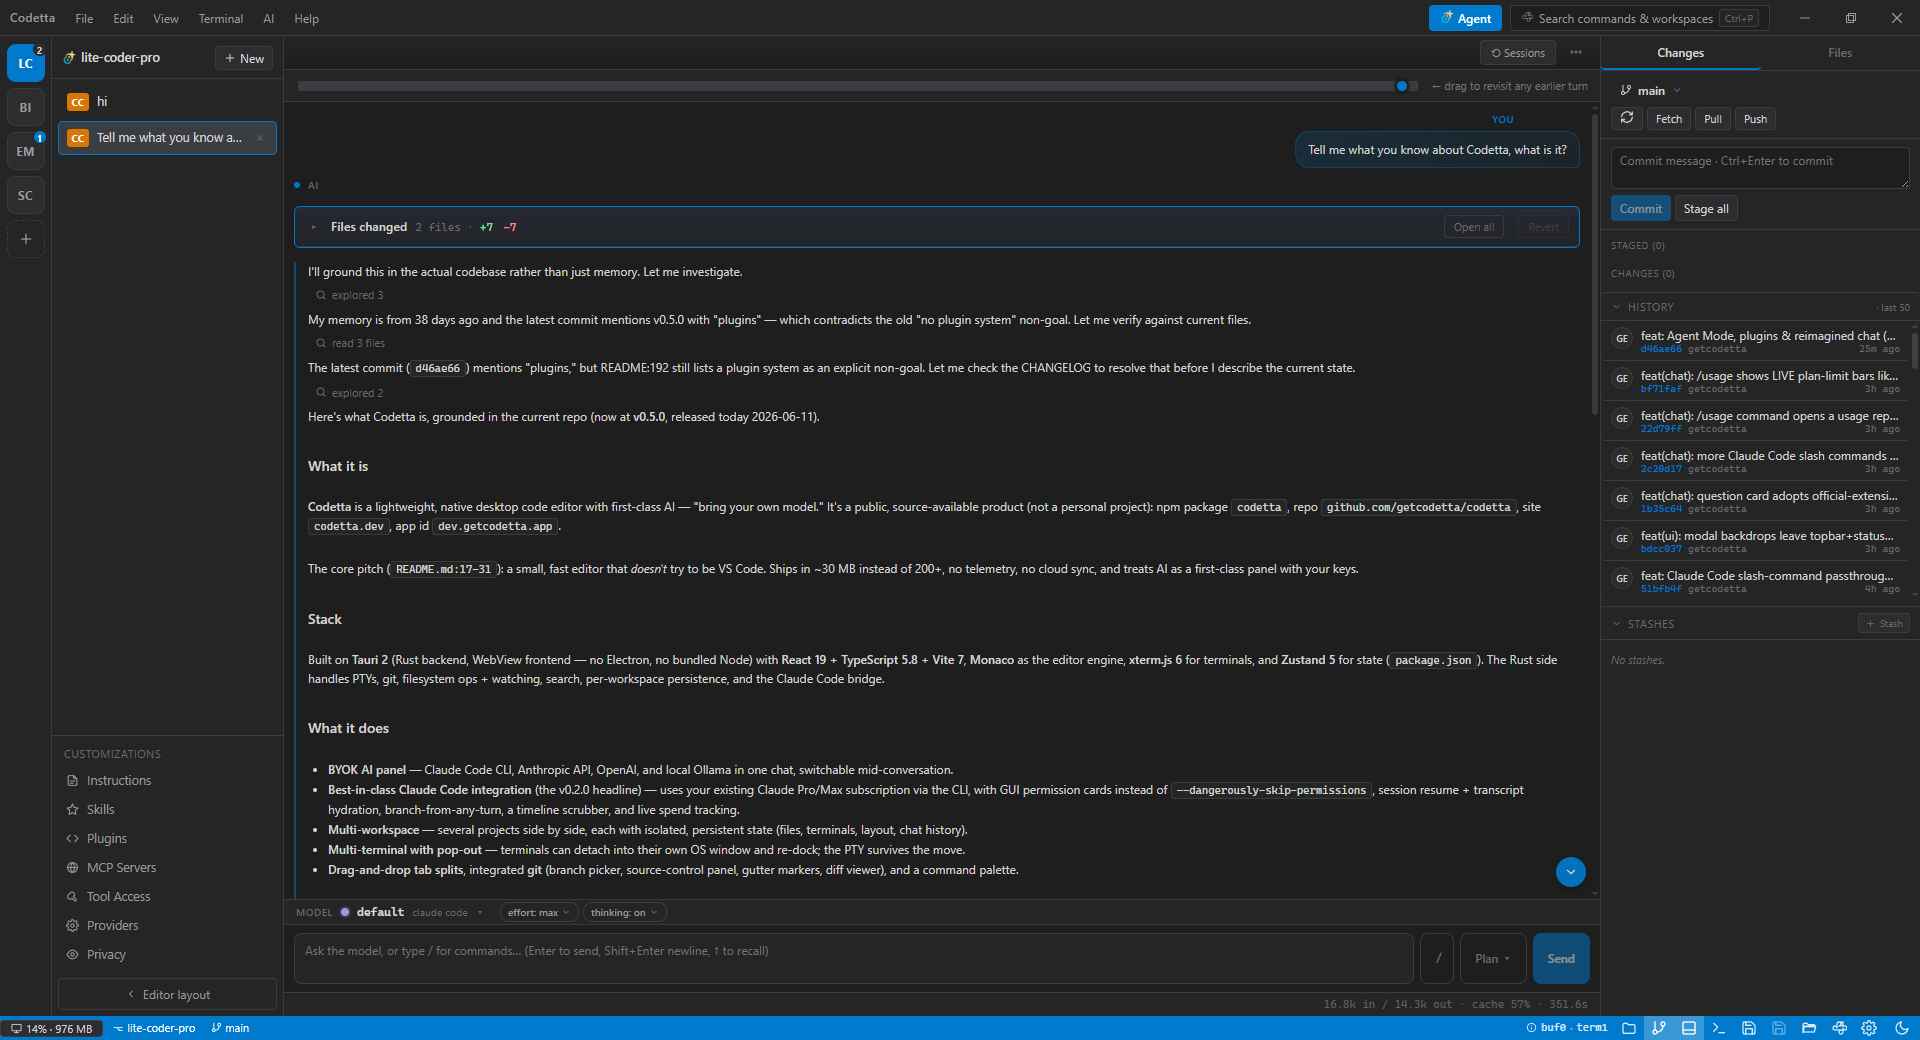 Agent Mode — workspace rail, sessions, a conversation-first chat, and a Changes / Files panel.
What you get
- Sessions on the left — every chat for the workspace, with a provider badge; switch or start a new one, state persists.
- Conversation-first chat — tool calls collapse to glanceable chips: a quiet "read 16 files" vs. a loud "edited run.ts". Click a chip to expand its diff or output; click an edit chip to open the file.
- Changes & tasks — file edits roll into a Changes review card; the agent's to-do list lives in a Tasks section instead of scrolling past in the transcript.
- Plan-mode approval — switch the composer to Plan; when the agent finishes planning you get a review card with the plan rendered, and Approve & start / Keep planning.
Customizations
The Customizations panel (bottom of the sessions column) is one tabbed home for everything that shapes the agent:
- Instructions — the workspace rules file (
.codetta/rules.mdorCLAUDE.md) fed into every prompt. - Skills —
.claude/skills/<name>/SKILL.md, project or user scope. - Plugins — add any Claude Code plugin marketplace by GitHub URL and install the plugins it offers (skills, commands, subagents, hooks, MCP servers).
- MCP servers, Tool Access, Providers, and Privacy exclusions.
4. Claude Code (recommended)
If you have a Claude Pro or Max subscription, Claude Code is the cheapest way to use Codetta — your subscription covers usage, no per-token bills.
Install the CLI
npm install -g @anthropic-ai/claude-code
claude /login
Follow the OAuth flow. Once claude --version works in your terminal, Codetta auto-detects it on the next AI panel refresh.
Use it in Codetta
- Open an AI chat — the AI icon in the activity bar, a New AI tab, or full Agent Mode (
Ctrl+Shift+A). - Click the model dropdown → pick claude-code: default.
- Type a question. The CLI runs in a subprocess; you see its tool calls (Read / Edit / Bash) live in the panel.
Permission overlay
Every Edit / Write / Bash / WebFetch / WebSearch tool call surfaces a permission card with three always-allow tiers:
- Allow this session — in-memory only, resets on restart.
- Always allow <tool> — persisted; manage in Settings.
- Always allow Bash <prefix> — for Bash, gates by first-token (
grep,npm,git).
rm still surfaces every time unless you explicitly add Bash:rm to the allowlist.
5. API keys (Anthropic / OpenAI)
If you'd rather pay per-token than subscribe, drop in an Anthropic or OpenAI key:
- Settings → AI Providers (Bring Your Own Key)
- Paste the key. It's stored in
localStorageon this machine and sent directly from the app to the provider — never routed through us. - Pick a model from the dropdown in the AI panel.
For OpenAI, get a key at platform.openai.com/api-keys. For Anthropic, console.anthropic.com/settings/keys.
6. Local models (Ollama)
For fully-offline AI, install Ollama and pull a model:
ollama pull qwen2.5-coder:7b
# or larger
ollama pull deepseek-coder-v2:16b
Codetta auto-detects Ollama on localhost:11434 and lists every model you've pulled. Pick one from the model dropdown. No key needed; no network.
7. SFTP setup
New in v0.4.0: edit remote files in the same Monaco buffer as local code, with auto-push on save and recursive directory sync.
Add a connection
- Click the ☁ icon in the activity bar to open the Remote panel.
- Click + Add connection.
- Fill in host, port (default 22), username, password.
- Optional: Default folder (e.g.
/var/www/site) so Connect lands you in the right place. - Optional: Private key path (e.g.
C:/Users/me/.ssh/id_ed25519) — key auth is tried first, password is fallback. For encrypted keys, the password doubles as the passphrase. - Click Test connection to verify, then Save & connect.
Edit remote files
Click any file in the remote tree. Codetta downloads it to .codetta-remote-cache/ in your workspace and opens it in the editor. Edit, save with Ctrl+S.
To enable auto-push on every save: click the ☆ button in the panel header (becomes ★) — or right-click the file in the local tree → Enable auto-push on save. The file's tab title shows a small ↥ glyph to remind you.
Bulk operations
- Push all dirty (⇈ in panel header): saves + pushes every linked dirty buffer in this workspace.
- Upload folder (recursive): right-click a remote folder → Upload local folder here, OR right-click a local folder → Upload to remote. Skips
.git,node_modules,dist, etc. - Download folder (recursive): right-click any remote folder → Download recursively to…
8. MCP servers
Settings → Claude Code — MCP servers (or the MCP Servers tab in Agent Mode's Customizations) opens a catalog of pre-configured Model Context Protocol servers (filesystem, git, github, postgres, puppeteer, sqlite). Click + User or + Project to install — Codetta prompts for any required values (paths, tokens, URLs) and writes a valid config to ~/.claude.json or ./.mcp.json.
Add your own (v0.5.0): the Add server menu accepts a local command (stdio), an HTTP / SSE remote URL, or an npm, pip, or Docker package — in user or project scope, with search and live install state. Manual JSON editing still works; Codetta re-reads ~/.claude.json on every refresh.
9. Keyboard shortcuts
Ctrl/Cmd + S— save active fileCtrl/Cmd + Shift + S— save all dirty filesCtrl/Cmd + W— close active tabCtrl/Cmd + Shift + P— command paletteCtrl/Cmd + P— quick file openCtrl/Cmd + B— toggle sidebarCtrl + `— toggle bottom panelCtrl/Cmd + ,— settings
10. Troubleshooting
"claude CLI not found"
Codetta looks for claude on PATH. If claude --version works in a fresh terminal but Codetta can't find it, restart the editor — it may have launched before the install completed. On Windows, the npm-installed Claude Code is claude.cmd; Codetta handles this but only after the first detection succeeds.
SFTP connect hangs / times out
The Rust SSH stack has a 30-second inactivity timeout. If the server doesn't respond in that window, the call errors out. Check firewall, host/port, and that the user actually exists on the remote. Try the same credentials with ssh user@host from a terminal first.
"File is not valid UTF-8" gone — but file looks garbled
v0.3.1 added GBK / Shift-JIS / Big5 / Windows-125x decoding via chardetng. If a file opens with mojibake, it likely has an unusual encoding chardetng misclassified. Open an issue with a sample file and we'll widen the detector.
Terminal disappears when I hide + show the bottom panel
Fixed in v0.3.1. If you're on an older build, upgrade.
Anything else
Open an issue: github.com/getcodetta/codetta/issues. Include your OS, Codetta version (Settings → bottom of the modal), and what you saw vs. what you expected.